8 Things You Need to Stream Live Video
Are you wondering what tools, software, or equipment you need to broadcast live shows on Facebook, YouTube, and other platforms? Read more.
You’ve been thinking of hosting a live show on YouTube, Instagram, or Facebook for a while.
Well, in case you have any doubts about its viability, just know that it’s a great idea.
But already you can feel that it’s going to be too daunting or expensive. Plus, what will you say, and will anyone like the stream?
Going live is not a difficult undertaking. There is a lot to talk about, but this article starts by introducing the various tools and equipment you’ll need.
Let’s get started:
Live Video Streaming Setup - Equipment List
You don’t have to get started with a pro setup right out of the bat.
To quickly get acquainted with the format, you can start streaming from your phone or laptop. Your device only needs a good mic and webcam.
Once you’re ready for a pro setup, here are the various equipment that you’ll need:
1) Camera
You’ll need a camera to capture footage, but something more robust than your in-built webcam or selfie camera if you’re looking for quality results.
There are things to watch out for when choosing a live-streaming camera.
The most important factor is the resolution of the camera, with higher resolution translating to clearer footage.
Another important factor is the frame rate of the camera. The higher the frame rate, the smoother the footage will be.
You also need to look for a camera with a clean HD output, meaning that it outputs the captured footage without UI elements that you see on the camera such as the current battery percentage. It’s also nice to have an auto-focus mode.
Camera options
Camera options fall into two main types.
a. Webcams Webcams are specifically designed for use with your desktop or laptop. That’s why you can simply plug them in using a USB, and start using them right away.
You can get an advanced webcam with all the bells and whistles: 1080p resolution, an in-built mic, autofocus, and more features.
Some models that are being actively used by content creators for streaming on YouTube and Twitch include:
- Logitech C922
- Elgato Facecam
- Logitech Streamcam
- Microsoft LifeCam HD-3000
- Logitech C930e
- Razer Kiyo
b. Normal cameras (DSLRs, Mirrorless, Camcorders, PTZ cameras)
We’re applying the non-existent label, “Normal cameras” as they are meant for use independently to take photos or record videos.
So, it’s no surprise that most cameras in this category may not be capable of being used as a live streaming camera, firstly because they may lack a live output. Camcorders are a bit different as even the older models had RCA outputs.
We’ll leave this video here in case you want to check it out. It’s on how to use old camcorders in a live stream setup by Tom Buck:
Now, when buying a professional camera for your live streaming setup, check if it has a clean HDMI output. That doesn’t mean that you can hook it up to your computer right away. It may need to be connected to a capture card first.
That said, manufacturers have been adding live streaming options to DSLR, action, and mirrorless cameras. That means newer cameras can work directly with your computer without a capture card.
You’ll only need to connect them to your computer with a USB. The world is moving past cables quite fast. Nowadays, you’ll also find live streaming cameras that can transmit the stream directly to the streaming platform, either YouTube, Facebook, Skype, etc. The models will be advertised as WiFi-enabled.
Let’s see some cameras that can give you a better stream quality compared to webcams:
-
GoPro Hero 8: You can just stream directly from the GoPro, without needing to connect it using cables, and you can also use the app to set it up. You get some nice features like slow motion and action recording.
-
Canon G7X: It’s quite popular for vlogging and streaming because of its digital flip-up screen. You get 4.2X zoom and built-in IIS. The camera also comes with a Live Streaming Mode and Autofocus.
-
Panasonic HC-X1500: It supports 4K video, 24X zoom, and live streaming over WiFi.
-
Panasonic AW UE4: The camera shoots and supports 4K, and it works great for a camera that you can mount like a CCTV or your studio for continuous streaming. It works over a cable connection.
2) Capture card
If you’re streaming from a DSLR, Mirrorless, action, or camcorder with only an HDMI output, you can’t plug it into your computer's HDMI port.
You’ll need to use a capture card. It’s also handy even for professional cameras that you can plug in through a USB connection, as it reduces the extra processing demands on the computer and makes the stream quality lag-free and smooth.
Capture cards even allow you to process analog input. And once you plug them into your computer, the camera feed is automatically converted into a webcam feed.
There are dozens of options out there when it comes to the capture card. But here are some recommendations:
-
Kamerakazi AG-1: It’s a simple capture card marketed towards users who want to stream their gameplay. It comes with two HDMI inputs. You'll plug the HDMI out from your camera or gaming console, and plug the USB into your computer.
-
Black Magic Intensity Shuttle: The capture device comes with more capabilities like the ability to add more audio inputs, or get an HDMI out to a secondary screen.
3) Separate microphone
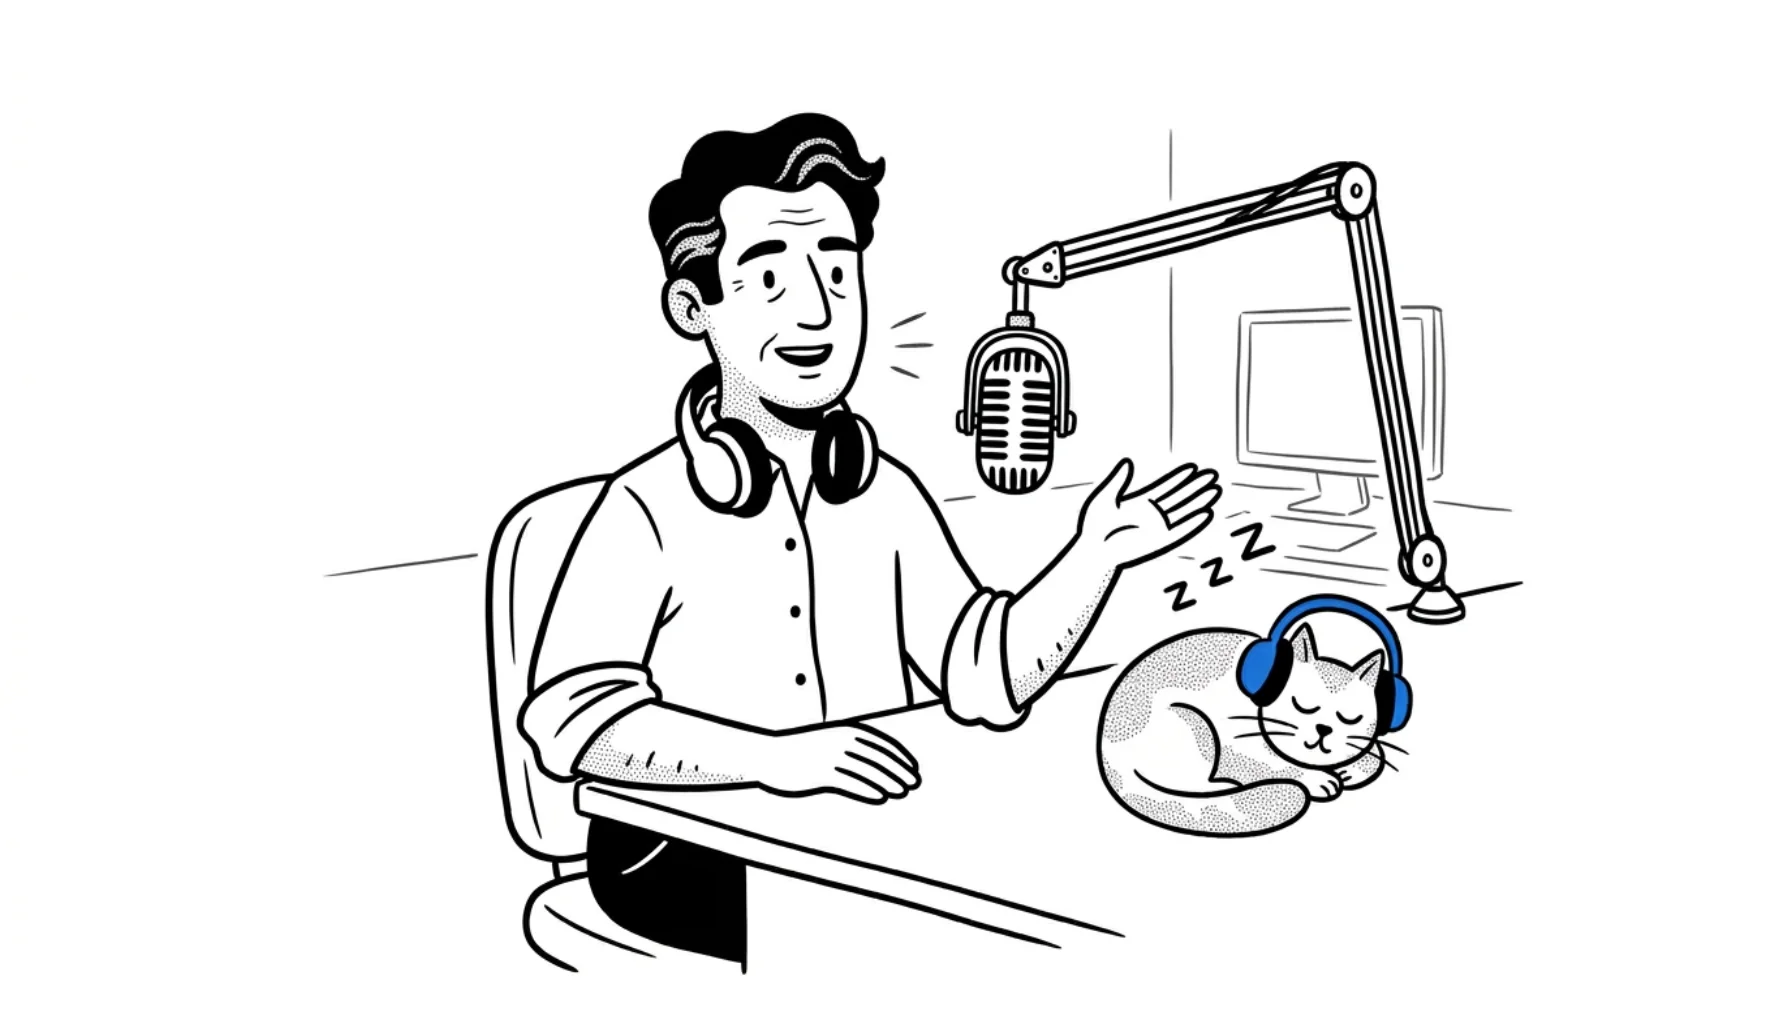
You’ll need a quality microphone. Since we cover radio and podcasting topics, you may be a podcaster or radio host reading this.
In this case, you can use your current setup. It may probably consist of a condenser or dynamic microphone, hooked up to a mixer with a line input or USB input to your computer.
This setup still offers a lot of flexibility as you can work with more inputs like multiple microphones for an interview setup or headsets for monitoring.
For a solo setup, you can probably get a USB microphone and connect it to your computer or capture card.
We'll not delve into the specifics as we've covered the audio setup part in our previous guides that you can access here:
- Radio station equipment for a professional studio
- Directory of Radio Microphones for Broadcasters & Podcasters: 19 Options
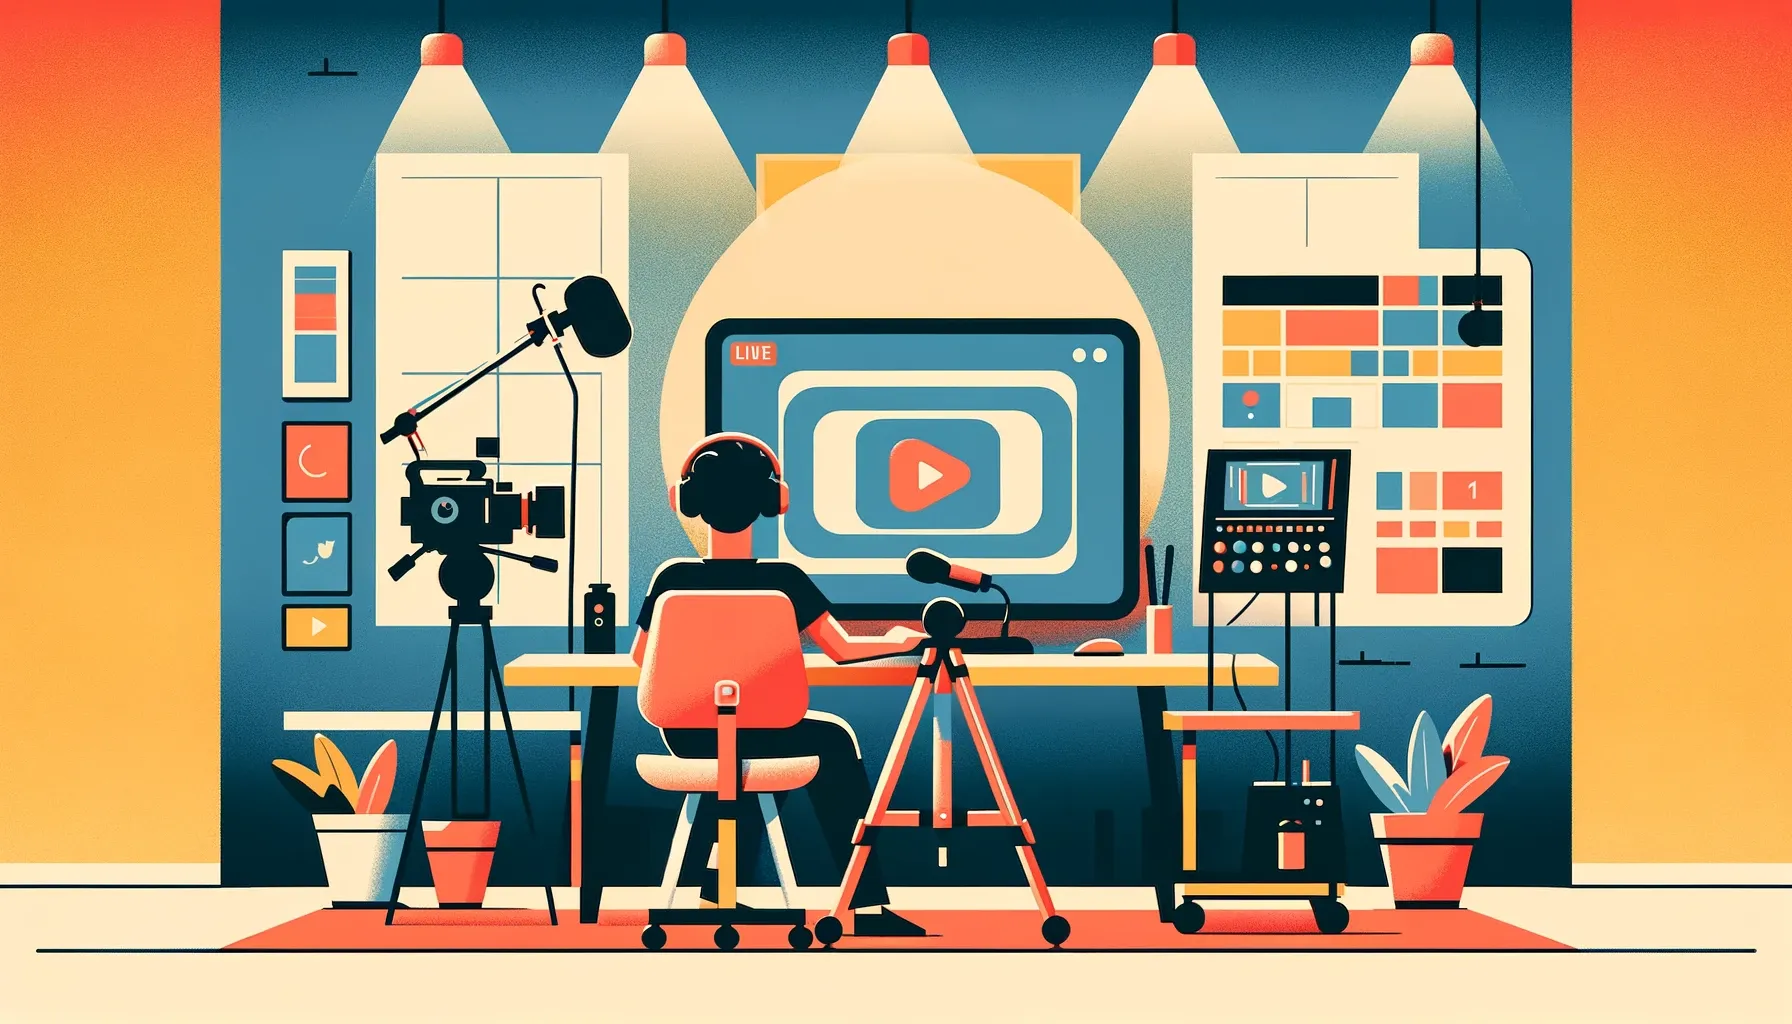
4) Multi-streaming app
Say you’re looking to broadcast on multiple platforms such as Facebook, YouTube, etc. There are different ways to go about it, some efficient and some not so efficient.
For one, you can use multiple devices. This is often necessary at times as some platforms don’t allow you to stream from a desktop device by configuring the URL.
Another way to do this is to install a multi-streaming app on your computer. The streaming app can generate multiple broadcast streams for your platforms.
Some of the popular solutions include:
- Wirecast
- Open Broadcaster Studio (OBS)
- VidBlasterX
- vMix
- XSplit
Another way is to utilize a cloud-based solution, which is also popular. Some cloud-based platforms include OneStream, StreamYard, etc.
5) Hardware encoder
Okay, you probably won’t need a video encoder. But it’s the extra piece of equipment that can make your setup more flexible and robust.
With a normal setup, you’ll be encoding and transmitting your stream from your computer or laptop.
The difference when using an encoder is that the stream will be generated from the hardware encoder. You can actually connect various inputs to the encoder, including your cameras, laptop, or mixer.
The hardware encoder can also generate multiple output streams in your preferred formats and quality.
Here is a quick video from Epiphan Video explaining how the encoder differs from the capture card:
6) Lighting
When streaming live video, it is important to have good lighting. This can make the difference between a good stream and a great one.
Lighting should be bright enough to allow viewers to see what is happening but not so bright that it is overwhelming.
There are a few things to keep in mind when lighting a live stream. First, consider the location of the light source. It is best to have the light source behind the camera, rather than to the side or in front of it. This will help avoid shadows and create a more evenly lit scene.
Pay attention to the colors of your light sources. Cool colors, such as blues and purples, will tend to make objects look cooler while warm colors, such as oranges and yellows, will make objects look warmer.
It is best to use a mix of cool and warm colors to achieve natural-looking results. Finally, adjust the brightness and contrast of your stream as needed.
If the scene is too bright or too dark, viewers will have a difficult time seeing what is happening. By adjusting the brightness and contrast, you can create a more comfortable viewing experience for your audience.
A ring light is a great option for streaming live video because it provides even lighting and eliminates shadows. It is a circular light that surrounds the camera and is typically very bright.
7) Green Screen/backdrop
You need a cool backdrop for your video. You can get it by designing an eye-catching set that incorporates art, decor, furniture such as your desk, and lighting.
Alternatively, you can use a virtual backdrop. If you have messed around with virtual backgrounds on Zoom, you’ll often see that the edges around the fake image are not so smooth. To get those smooth lines you need a green screen. It gives you better control as you separate the background from the on-screen image and replace it with any desired backdrop.
8) Switcher
What is a live stream switcher? A live stream switcher is a piece of hardware or software used to control the flow of audio and video signals when streaming content over the internet.
It is typically used to switch between multiple cameras that are broadcasting at the same time and provides a way to add special effects, titles, and graphics to the live stream.
If you’re using OBS or another streaming app, you’ll find that you can access switcher functions. You may only need a hardware switcher if you’re working with multiple camera angles.
How to set up your first live stream
Use this quick workflow to get started with your first stream:
- Make sure you have a good internet connection
- Choose the right location in your house
- Gather all of your equipment and props
- Once you've gathered all the equipment that you need, set everything up by connecting the video and audio sources
- Test your live stream before you go live
- Start streaming!
- Engage with your viewers and answer their questions
Bottom Line
That’s all we had for you today. We’ll keep following up with more posts that will help you to crush your live streams as it’s something that’s definitely here to stay.
And did you know that you can earn more money as you broadcast on platforms such as YouTube and Facebook? Read this follow-up guide on Generating Income from Membership-Only Radio Station & Podcasts.
CloudRadio One gives you AutoDJ, 750 GB storage, and unlimited listeners for $39/mo.