Download and install PlayIt Live on your studio computer. Learn how to set up the Internet Broadcast plugin and configure it with your radio broadcasting server.
Software information
Platform: Windows only
License: Commercial
Server type: SHOUTcast 2, SHOUTcast 1, Icecast
Playit Live Download: https://www.playitsoftware.com/Products/Live
Overview
It is a radio automation software that offers free core features. Premium modules — voice tracking, audio processing, and remote management *—*are distributed as paid plugins.
You can start using the program and add paid plugins later if you require them.
Key features
The core functions are sufficient to automate and run your station. We like:
- Simple track import wizard;
- Intuitive interface;
- Quick cart for jingles and liners;
- Silence detection and automatic cue;
- Segue editor;
- Free encoder plugin to stream to SHOUTcast, Icecast & Steamcast servers;
- Free-extras such as the PlayIt Recorder and PlayIt Cartwall.
Connect to your server
Install PlayIt Live
- Download and open the .exe file to run the setup wizard.
- Launch the program and sign up for a free account.
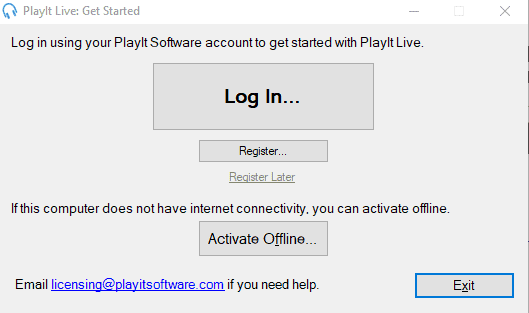
Configure the encoder
You will need an account to add plugins. If you selected "Activate Offline" on the first run, now is the time to create an account.
There are two ways to set up the Internet Broadcast Plugin:
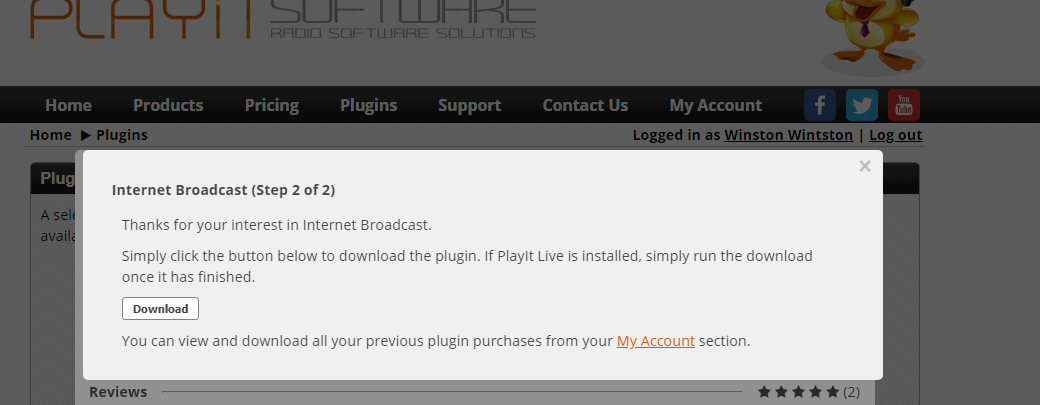
- Option 1: Log into your account from your browser. Select Plugins > Internet Broadcast > Get for Free. Download the plugin's .exe file and run it. That's all!
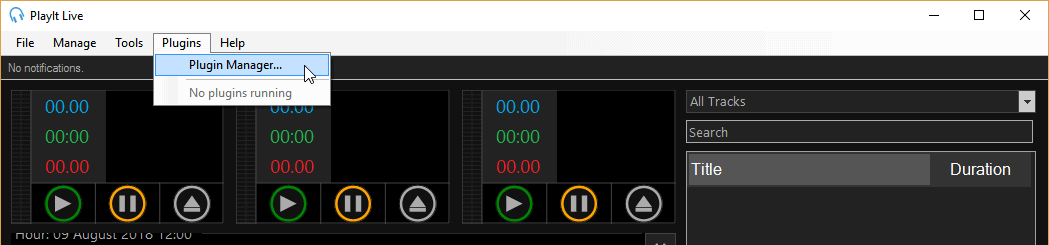
- Option 2: Select Plugins > Plugin Manager.
- Click Browse plugins in the Plugin Gallery. (Needs an internet connection).
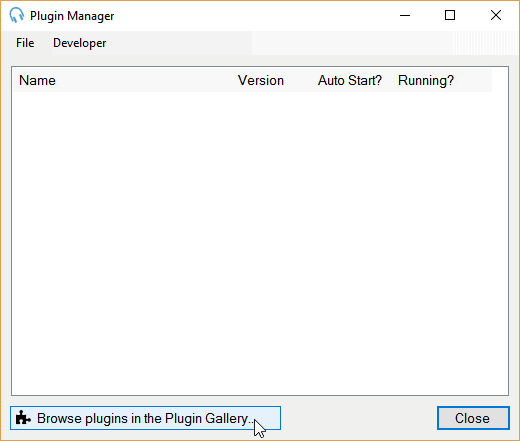
- It will load a list of plugins:
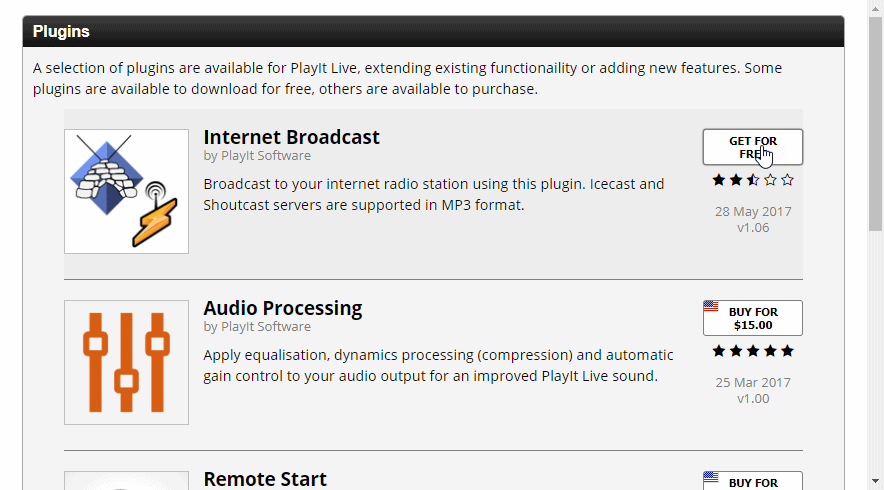
- Select GET FOR FREE for Internet Broadcast.

After installing the plugin:
- Select Exit Plugin Gallery.
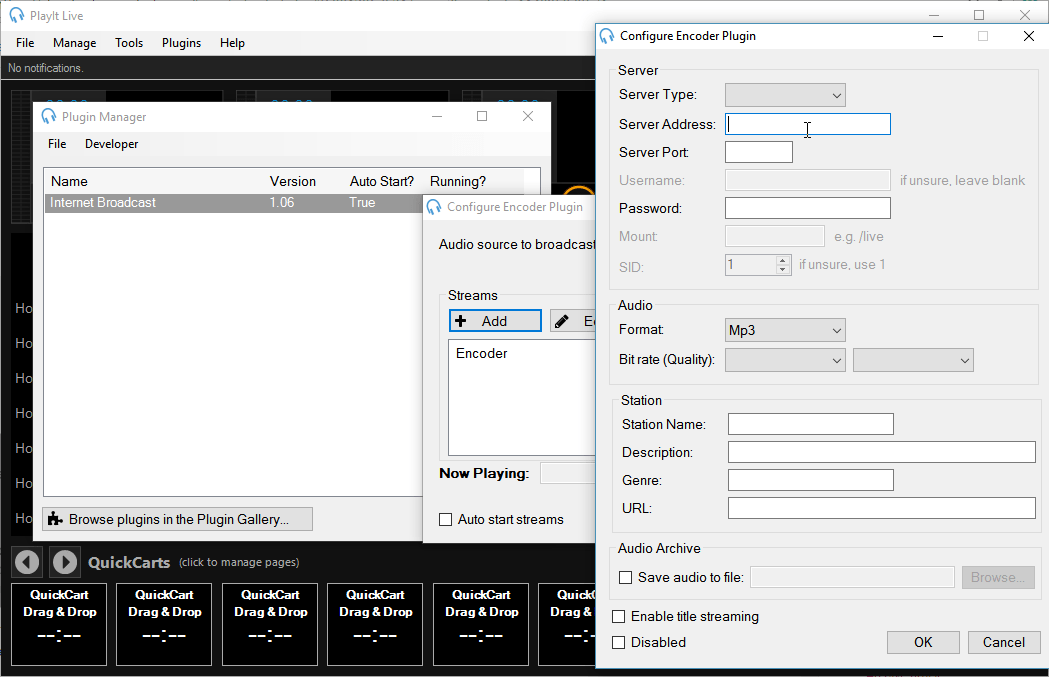
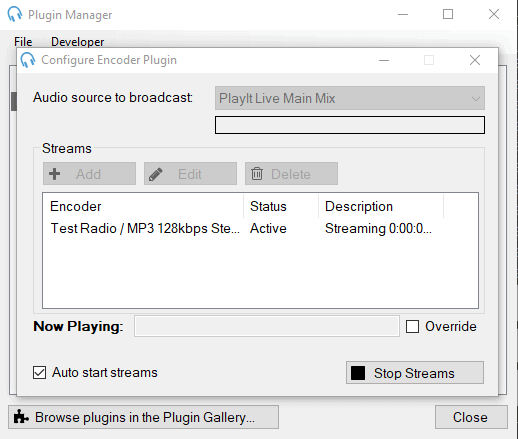
On the Plugin Manager:
- Double-click Internet Broadcast > + Add.
- For PlayIt Live multiple encoders, you can add more streams later.
You'll need your connection details from Studio. See Broadcasting Live for where to find your server address, port, mount point, username, and password.
Enter server details
Enter the values from Studio into the corresponding fields in the encoder. Match the server type (Icecast or Shoutcast) to your radio's configuration.
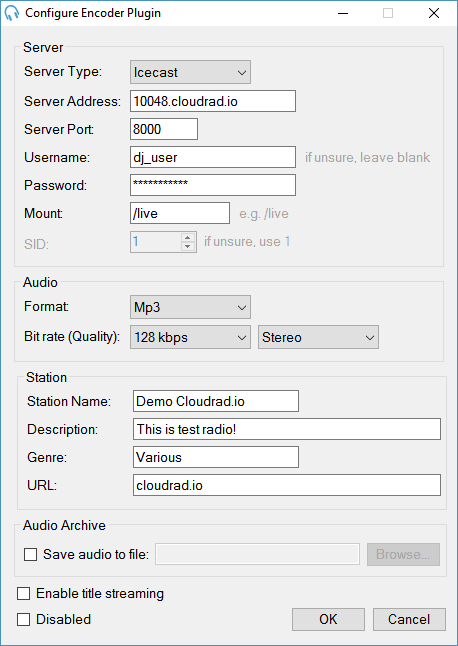
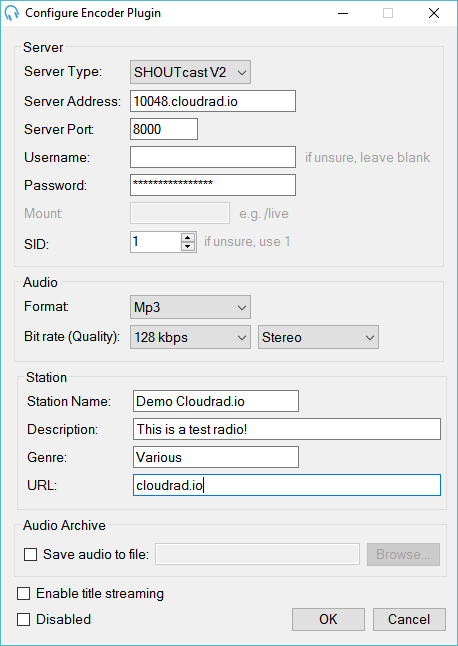
- Once you confirm that your settings are correct, select OK.
- You need to specify the audio source to broadcast, for instance, PlayIt Live Main Mix.
Schedule tracks
We need to add tracks before scheduling or cueing.
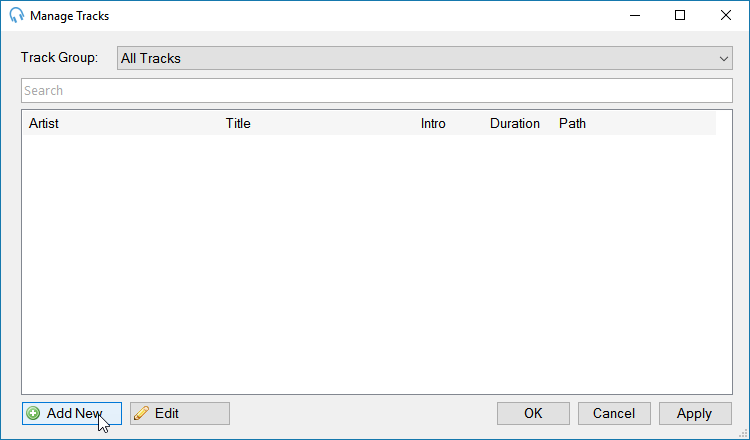
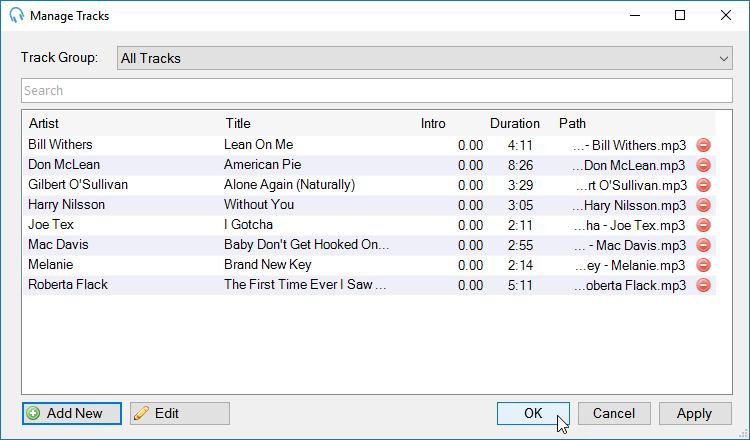
Select Manage > Tracks.

- On Manage Tracks, select Add New.
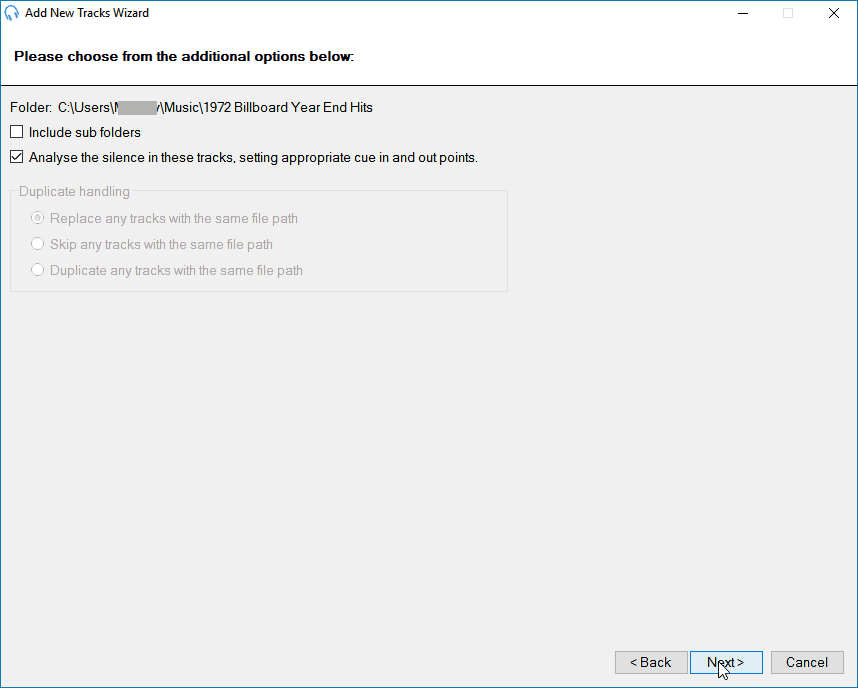
- Pick your music folder.
- You can enable silence detection, as shown below:
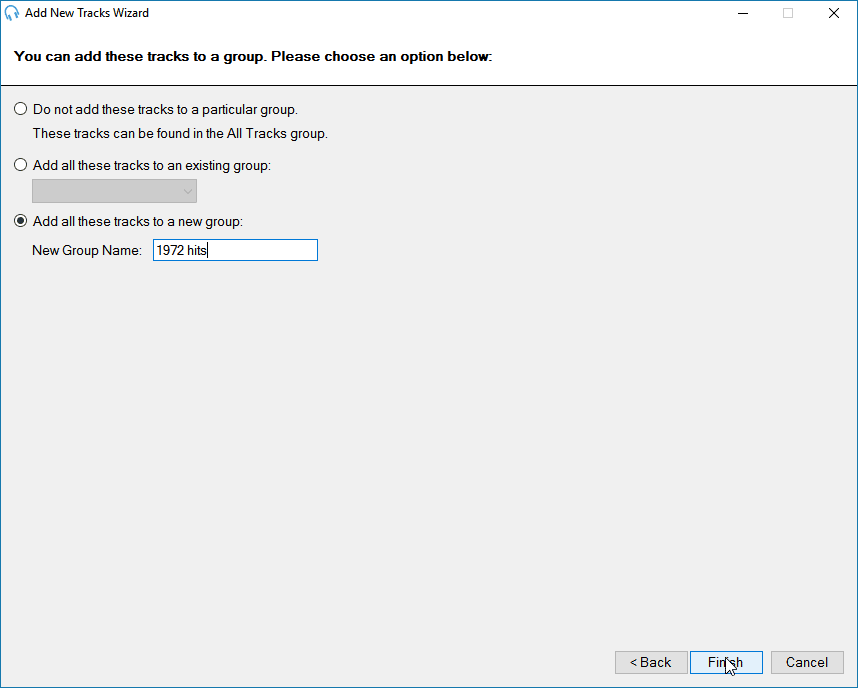
- Create a new category for your added tracks.
- Next, click Finish.
- You can add more tracks or click OK to finish.
To start playing music:
- Drag music to the hour segment.
- Enabling Automation will start playback.
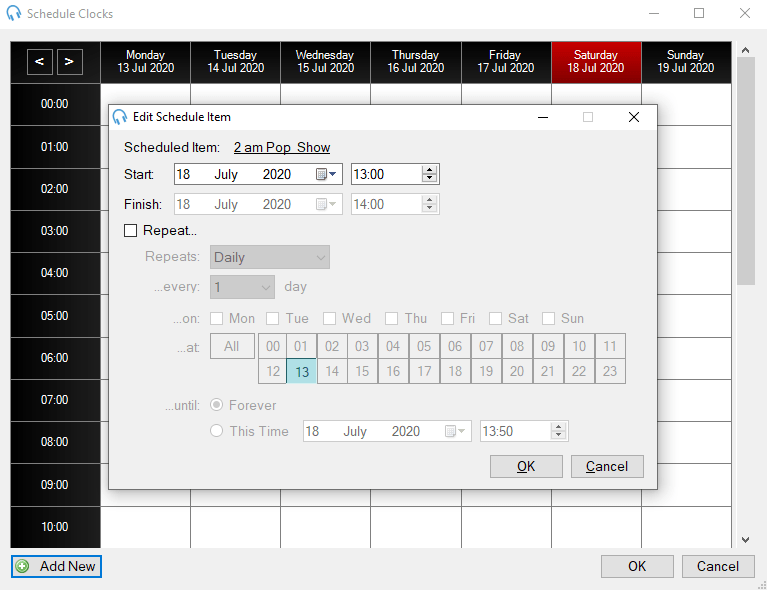
You can create clocks i.e. rotations, and schedule them. The software also allows you to define playout policies. See the manual for more information.
Need an alternative to PlayIt Live? Explore over 20 radio automation, DJ, and encoder programs on our broadcast software guide.